 Email: support@alloliving.com



How to Install Modern Lighting Fixtures: A Complete Step-by-Step Guide for Homeowners
- by ALLO LIVING

How to Install Modern Lighting Fixtures: A Complete Step-by-Step Guide for Homeowners
Installing a new lighting fixture is one of the most rewarding home improvement projects you can tackle. Whether you're upgrading a tired ceiling light in the hallway or adding a statement pendant over the kitchen island, getting the installation right ensures safety, longevity, and the perfect lighting effect. In this comprehensive guide, we'll walk you through everything you need to know — from choosing the right tools to wiring your fixture correctly.
At ALLO LIVING, we offer a wide selection of modern lighting fixtures designed for easy installation. Let's light up your space, step by step.
Before You Start: Safety First
Electrical work requires caution. Before touching any wires, follow these critical safety steps:
- Turn off the power at the circuit breaker — not just the light switch. Verify power is off using a non-contact voltage tester.
- Use a sturdy ladder rated for your weight plus the fixture weight. Never stand on furniture.
- Check local building codes — some jurisdictions require licensed electricians for certain installations.
- Know your ceiling type — drywall, concrete, and joist-mounted installations differ significantly.
According to the Electrical Safety Foundation International, improper electrical installation is one of the leading causes of home fires. Take the extra minute to be safe.
Tools You'll Need
Most modern lighting fixture installations require only basic tools:
- Non-contact voltage tester
- Screwdriver set (Phillips and flathead)
- Wire strippers
- Wire nuts (usually included with the fixture)
- Drill with appropriate bits (for mounting screws)
- Electrical tape
- Stud finder (for ceiling fans and heavy fixtures)
Step 1: Choose the Right Fixture for Your Space
The installation process starts long before you pick up a screwdriver. Choosing a fixture suited to your room's size, ceiling height, and electrical setup will make installation smoother.
For low ceilings (under 8 feet), flush mount fixtures are ideal. The 16 Inch Dimmable Round LED Flush Mount Ceiling Light from ALLO LIVING sits close to the ceiling, works with most junction boxes, and includes a remote control for dimming — perfect for bedrooms, hallways, and living rooms.

For kitchen islands and dining tables, pendant lights create focused illumination. The 16 Inch Modern Round Metal LED Pendant Light features an adjustable hanging height, making it versatile for various ceiling heights.
Step 2: Remove the Old Fixture
- Confirm power is off at the breaker.
- Remove the old fixture's shade or glass cover.
- Unscrew the mounting screws holding the fixture base to the ceiling.
- Support the fixture with one hand while disconnecting wires.
- Identify the three wires: black (hot/live), white (neutral), and green or bare copper (ground).
- Unscrew the wire nuts and separate the old fixture wires from the house wires.
- Remove the old mounting bracket if replacing it with the one from your new fixture.
Step 3: Install the New Mounting Bracket
Most modern fixtures like the 12 Inch Minimalist Round LED Flush Mount Ceiling Lamp come with a new mounting bracket. Attach it to the ceiling electrical box using the provided screws. Make sure it's level and securely fastened — this bracket supports the entire weight of your new fixture.

Step 4: Wire Your New Fixture
This is where most homeowners hesitate — but it's simpler than it looks. Modern LED fixtures like those from ALLO LIVING use clear color coding:
- Connect black to black (live/hot wire)
- Connect white to white (neutral wire)
- Connect green/bare copper to ground (or the green grounding screw on the bracket)
Twist each pair together clockwise with a wire nut. Give each connection a gentle tug to confirm it's secure. Wrap with electrical tape for extra safety. If you're unsure, ALLO LIVING's 16 Inch Modern Round LED Flush Mount Ceiling Light includes clear instructions for each step.
Step 5: Mount the Fixture
Once wiring is complete, carefully tuck the wires into the electrical box. Then:
- Align the fixture base with the mounting bracket.
- Secure with the provided screws — don't overtighten, as this can crack the fixture base.
- Attach any decorative elements (shades, globes, or covers).
- Install the bulb if your fixture uses replaceable bulbs (most ALLO LIVING fixtures use integrated LEDs).
For heavier fixtures like chandeliers, the 12 Light Matte Black Sputnik Chandelier requires additional support — make sure your electrical box is rated for the fixture weight (look for "fixture support" or "fan-rated" boxes).

Step 6: Test and Finish
- Turn the circuit breaker back on.
- Flip the light switch to test operation.
- If the light doesn't work, turn off the power immediately and check your wire connections.
- For dimmable fixtures like the 16 Inch Dimmable Flush Mount, test the dimming function with your switch (if compatible).
- Install the final shade or cover if you removed it during testing.
Special Installation Scenarios
Outdoor Lighting Installation
Installing outdoor fixtures requires extra attention to weatherproofing. Use silicone caulk around the mounting bracket to seal against moisture. The 18.9 Inch Black Round Solar Pier Mount Post Light is a great choice for outdoor spaces since it requires no wiring at all — simply stake it in and let the sun charge the battery.
Recessed Lighting Installation
Recessed (can) lights require cutting holes in the ceiling. Measure carefully and use a template before cutting. The 10 Pack Waterproof Stainless Steel LED Recessed Ground Step Lights from ALLO LIVING are designed for ground-level installation and come with easy-to-follow recessed installation guides.
Troubleshooting Common Issues
| Problem | Likely Cause | Solution |
|---|---|---|
| Light doesn't turn on | Loose wire connection | Turn off power, check wire nuts |
| Light flickers | Incompatible dimmer switch | Use an LED-compatible dimmer |
| Breaker trips when light is on | Short circuit in wiring | Check for exposed wires touching the bracket |
| Fixture feels loose | Mounting bracket not secured | Tighten bracket screws; use toggle bolts if no joist |
Installation Tips for Different Fixture Types
- Flush mount lights — Easiest to install; ideal for DIY beginners. Check out ALLO LIVING's 10 Inch Modern Round Flush Mount Ceiling Light for a simple first project.
- Pendant lights — Require adjusting cord length before mounting. Measure desired drop height first.
- Chandeliers — Heavier; may need ceiling reinforcement. Always use a support chain.
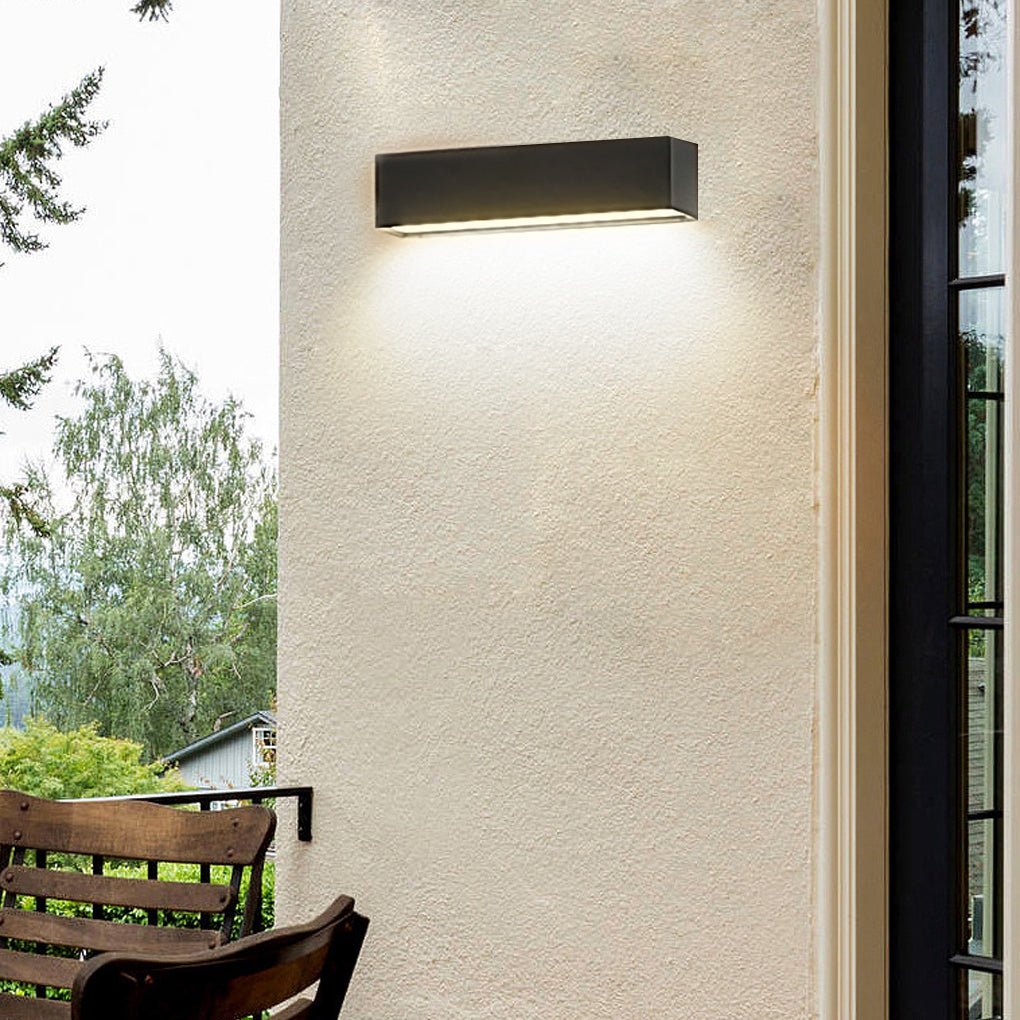
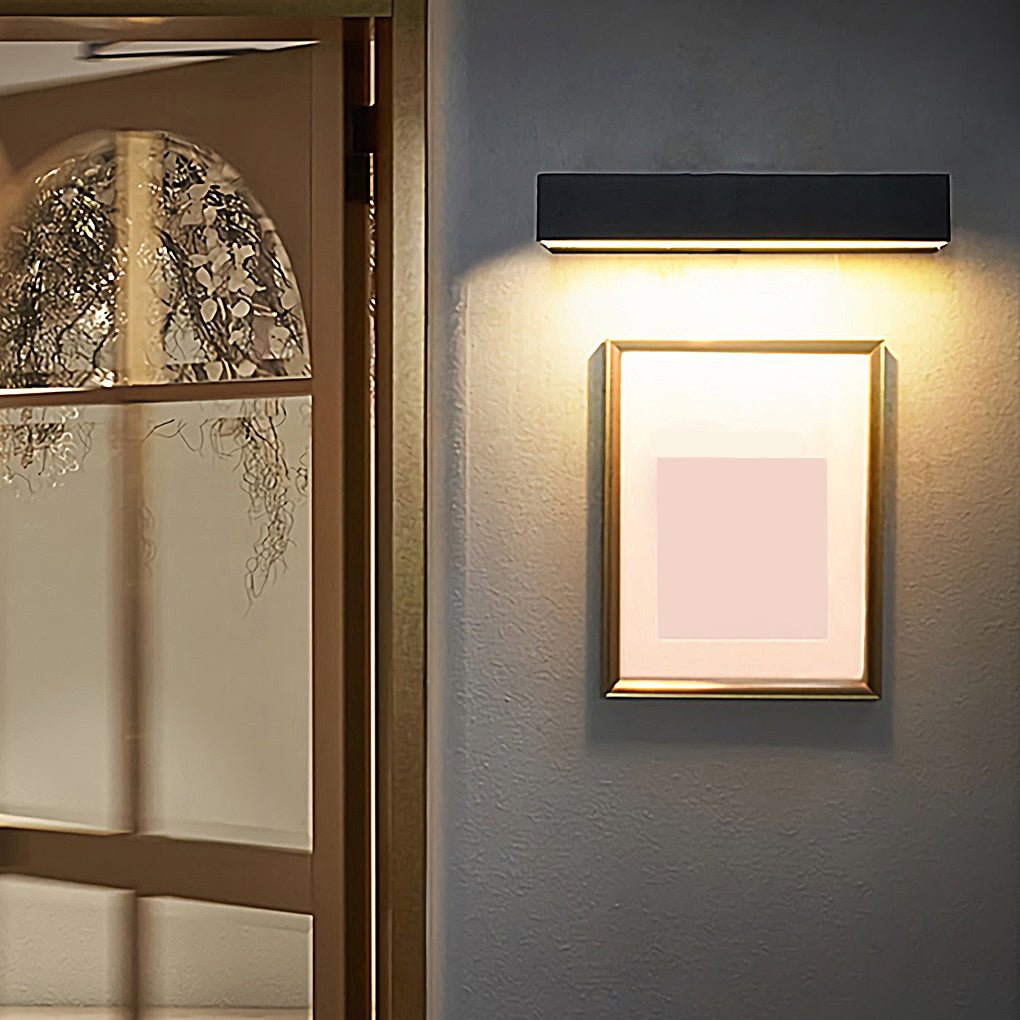
- Wall sconces — Require horizontal junction boxes; harder to add to existing drywall.
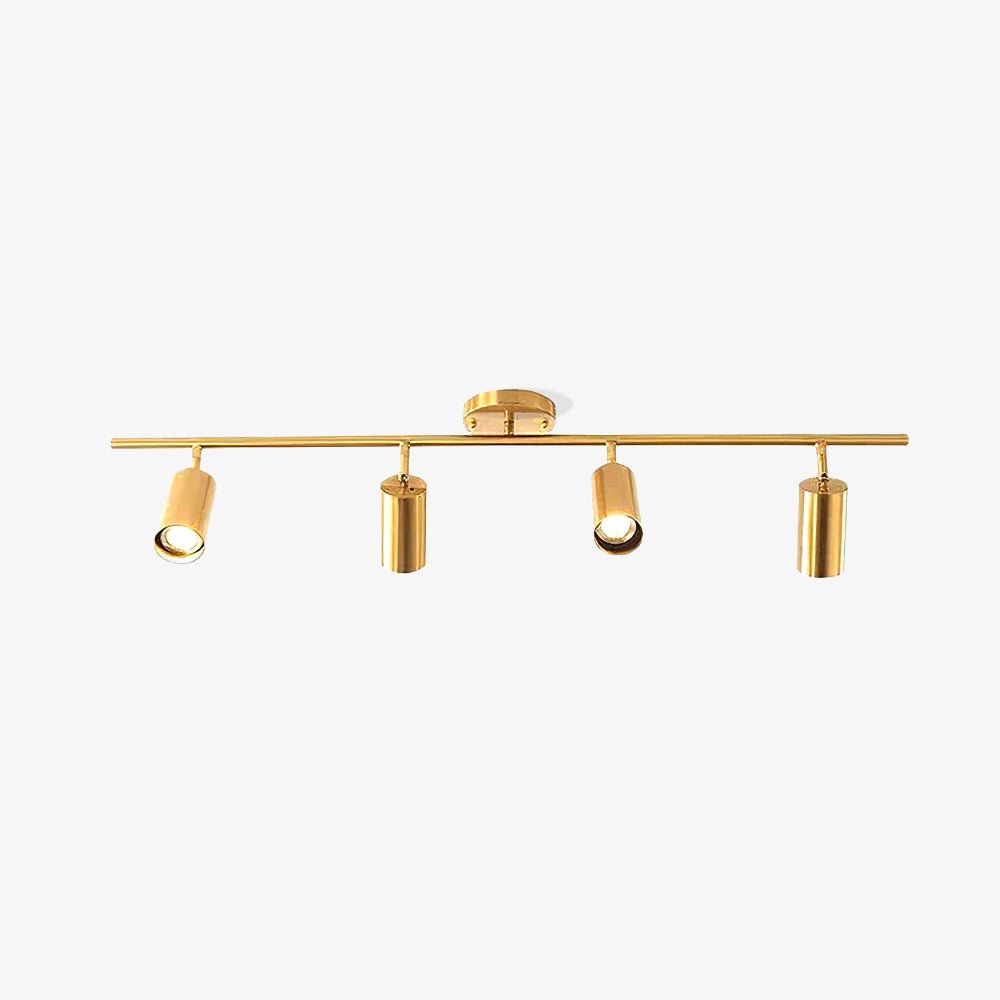
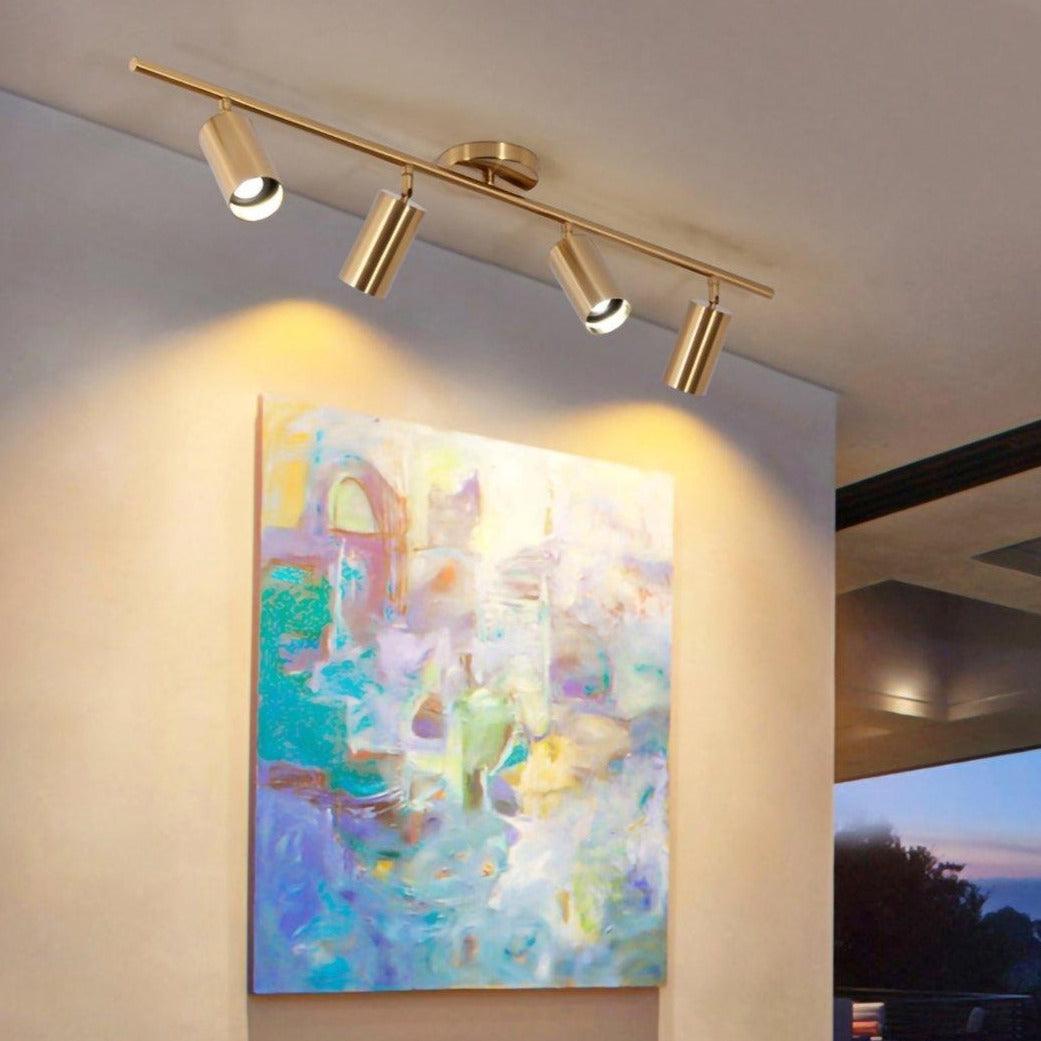
- Track lighting — Flexible but requires careful planning of the track layout.
When to Call a Professional
While many lighting installations are DIY-friendly, call a licensed electrician if:
- Your home has aluminum wiring (common in 1960s–70s homes)
- You need to add a new switch or run new wiring
- The ceiling box is not securely anchored
- You're installing a heavy fixture over 50 lbs
- You're uncomfortable working with electrical connections
Frequently Asked Questions
Q: Can I install a light fixture without a junction box?
A: No. All light fixtures must be mounted to a UL-listed electrical junction box for safety and code compliance.
Q: Do I need an electrician to replace a light fixture?
A: Not necessarily. Replacing an existing fixture with a similar one is a straightforward DIY project if you're comfortable with basic wiring.
Q: How long does it take to install a flush mount light?
A: Most flush mount installations take 30–60 minutes for a DIY homeowner, including safety checks.
Q: What if my new fixture's wires don't match the house wires?
A: If the fixture has a different wire configuration, consult the manufacturer's instructions. ALLO LIVING fixtures come with color-coded wires that match standard US electrical systems.
Q: Can I install a pendant light over a kitchen island without existing wiring?
A: Yes, but you'll need to run new wiring from a switch — this requires cutting drywall and should be done by a professional.
Q: Are ALLO LIVING fixtures compatible with standard US junction boxes?
A: Yes. All ALLO LIVING fixtures are designed for standard US ceiling boxes and follow North American wiring conventions.
Ready to upgrade your home lighting? Browse our full collection of easy-to-install fixtures at alloliving.com — including flush mounts, pendants, chandeliers, and outdoor lighting, all backed by clear installation guides and customer support.
- Posted in:
- DIY
- home decor
- home improvement
- installation
- interior design
- lighting


